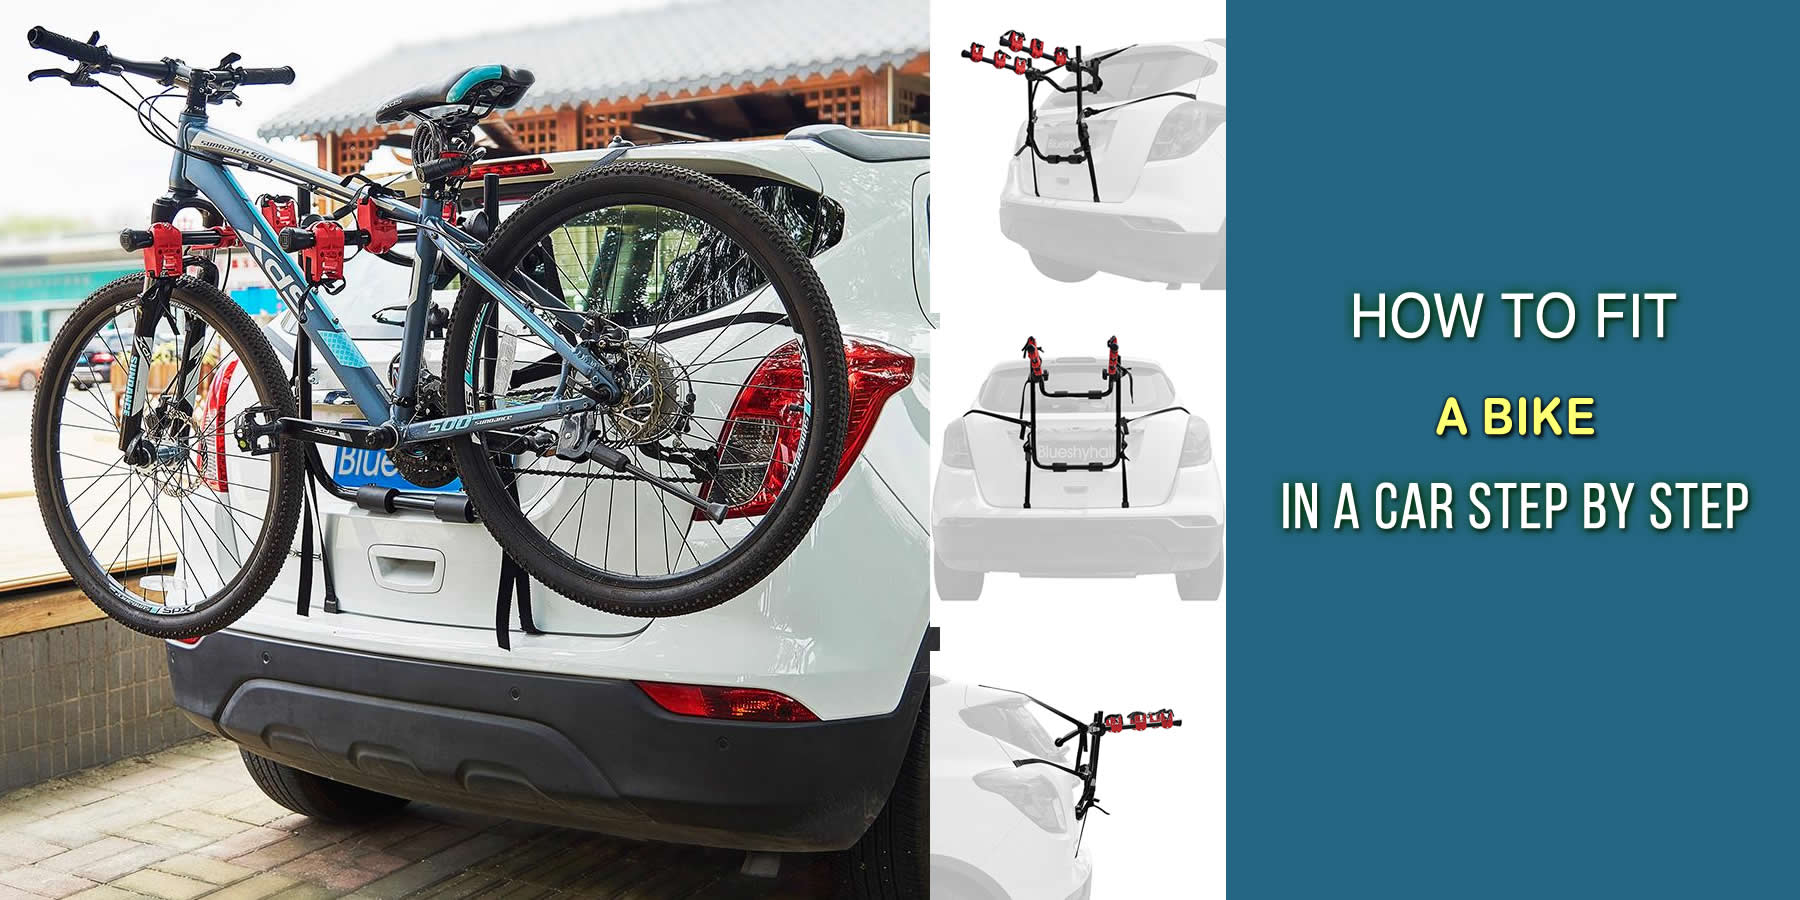
Carrying your bike along on a trip can save you from a lot of inconveniences. Sometimes you just have to carry it with you to wherever you tend to travel to. However, it tends to be a difficult process at times, especially if you feel that there is no enough space in your car to put it in.
Most cars have limited carriage spaces, hence making it difficult to carry bulkier accessories along on a trip. Regardless, there is always some room for creativity. You can make it happen without putting either the accessory or the car to risk.
We do not know how big your bike or car is, but still, this guide can help you out. Here is a step by step guide on how to fit a bike in a car.

Read Also: How To Build A Biked Engine Car
Step 1: Comprehend The Car's Carriage
Different cars have different storage capacities and shapes. You cannot just put the bicycle in any car without understanding the storage of the car. This is to avoid denting the car or damaging the bicycle. First, learn about the space at the trunk. How much can it accommodate? How is it designed? The shape of the boot will greatly affect the way you are going to dismantle and arrange the bicycle and its pieces in the car. You also have to know if the car's rear seat can be folded or not. Folded seats give extra space for your bicycle.
Step 2: Get The Carriage Space Ready:
The trunk and space at the rear seats have to be prepared before putting your bicycle inside. Push the rear seats to the front to create more space at the trunk. The space around the boot then has to be cushioned. This is because during driving, the car moves up and down and over the bumps, with this, the bicycle is prone to hitting your car and ending up denting it, moreover the bicycle itself could lose its shape and color if you do not prepare the trunk well enough.
Read Also: Our Popular Best Road Bikes Under 500 Dollars Reviews
Step 3: Cleaning The Bicycle:
First and foremost a dirty bicycle can be disgusting. Besides preventing the bicycle from rusting, cleaning a bicycle saves you time and resources. Imagine if you put a dirty bicycle in your car. You will waste your time and water cleaning the car's trunk. Save yourself the trouble of later cleaning the boot and clean the bicycle. You can as well end up dirty while assembling the bicycle when you reach your destination. Carrying a clean bicycle can also save you some embarrassment in case you are going to a public event like bike racing. Nobody wants to be seen around with a messed up bicycle.
Step 4: Disconnect The Wheels:
The wheels take up more space and it is better when they are removed from the bicycle. Be careful not to ruin the wires of the wheel while disconnecting them from the bicycle. The bicycle fits perfectly in the chamber without the wheels, remove them and put them in the trunk later after arranging other parts in the car boot. Wheels should be stored carefully because they are fragile.
Step 5: Take Good Care Of The Brakes:
The brakes are important as they help reduce the speed so you probably don't want to end up ruining them. Use brake plugs to secure brake calipers. How you store the brakes will affect their longevity and effectiveness. If you place the brakes carelessly they are either going to break off or reduce their efficiency. Make sure to place the brakes on the upper side and cover them with a rug to pad them. This will protect the brakes from the shock that may results from the bouncing of the car when it passes through potholes and bumps.
Step 6: Know Which Side Of The Bike To Face Upwards:
The handlebars in the first place are faced upwards where they comfortably lay. Brakes, chain, and derailleur also face up. This is because they are vulnerable to damages like breaking and malfunctioning and you don't want your riding experience to be cut short when you reach the destination. Chains can spill grease on the car's trunk making it untidy, the grease is also difficult to remove from the surface. Bending derailleur gears can cause them to break which will incur costs on repairing them.
Step 7: Cushioning:
We understand that the purpose of cushioning is for shock absorbance. The wheels are placed on top of the bicycle's 'body' as a cushion. This is usually after placing all the bicycle parts on the surface of the car's trunk. Put some rugs or newspapers at some places to stabilize the wheel so that it does not rock around, up and down during driving. Stability is also important because it ensures all the other parts of the bicycle stay in place when the car moves. You will not be left to worry about denting the car or causing the bicycle paint to chip off.
Step 8: Ensure To Cover The Pedals And The Chain:
The chain should be covered since if left it can easily break when it gets stuck and gets extra tight. The other reason is because of its greasy nature. It can smear the grease on the rear seats or the trunk. Grease is usually tough to remove by washing with water only therefore it stains the surface. The pedals are rough to increase friction they, therefore, can perforate the rear seats if not covered. This can ruin the seats causing you to spend more on repairing the seats.
Step 9: Covering The Dropouts:
The dropouts of a bicycle are sharp. They can pierce or dent the car if they are not placed at a compact position or when not covered. Use padding like a rug to cover the dropouts so that they do not make dents or holes in the car. Just make sure the rug is thick enough so that the dropouts do not pierce through them as well. Furthermore, the noise created by the dropouts hitting the boot could be very irritating to the driver and passengers in the car. Padding the dropouts will ensure you have ample time traveling to your destination.
Step 10: Place The Entire Bicycle In The Boot And Covering It Skillfully:
Carefully put the parts of the bicycle in the boot step by step as you have been instructed earlier. Do not hit the frames on the boot because the paint of the bicycle will chip off yet you do not want extra costs. Each part should be placed accordingly with the care it deserves so that even with anticipated journey difficulties, no damage comes to the bicycle. After putting the bicycle in the trunk you must add some materials on top and cover the bicycle well. These materials could be rugs, old towels or even newspapers. This is vital for stability and ensuring that no part is exposed to the wreckage.
Frequently Asked Questions (FAQs)
Q: Can a bike fit in an SUV?
A: Yes it can. Just like we have mentioned above, an SUV also presents almost the same storage space as any other car, hence allows you to fit in the bike in the storage clamber.
Q: Can you put a bike rack on a car and how?
A: Of course you can. You can install it in on tour car if it is possible. Bikes racks are designed for some cars to provide space for your bicycle.
Q: Can a bike rack damage a car?
A: Not necessarily. If well placed, it will not damage your car. You need also to confirm if your car can accommodate a bike rack so that you do not force it on the car.
Q: Can I carry the bike in the car without a bike rack?
A: Yes you can but you will have to improvise. Without a rack, you may have to dismantle the bike.
Q: What are the implications of carrying a bike on a car without a rack?
A: Bike rack provides a safer means of transporting a bike in a car and without it, the bike may be exposed to damage during transportation.
Final Verdict:
Fitting a bike in your car may look like something very complicated but it is not. If you follow the above-mentioned steps, it will take you less time and energy to fit it in your car. Similarly, putting it in the car the right way will enhance the safety and the comfort of the rest of the passengers during the trip. If you are not so skilled at dismantling and putting parts together, you can invite an expert to do it for you. Bicycles are not as complex as motorbikes. Therefore, with consistent practice, you should be able to do it all on your own. When you get to your destination, you can join together the parts that were dismantled at the beginning of the trip.

Hello Guys! I am John Reese, a professional biker and my hobby is biking! I have been biking for last 10 years and I love using bikes while outing as well. Based on my experiences with the different type of bikes (mountain bikes, road bikes and hybrid bikes); I am sharing my opinion about various bikes so that a beginner can get started right away. Happy reading!

