Mountain bikes can be expensive to buy however, you could build your own. With the right research into the parts required, and a little know how you can achieve a great result.
You will also have the feel-good factor that comes with knowing you have built something with your own hands. Over the years a steady increase in a number of people deciding to invest in a bike has been confirmed.
According to Cycling UK's research 42% of people over the age of five years old (twenty-five million people), have access to a bike. That is an impressive and reassuring figure, it goes to show that bike riding is not on the decline.
Their further research has also found generally that men are more likely to cycle than women, along with students and those in professional or managerial jobs rather than manual jobs.
Riding a bike has become a popular choice for transport. There are many pros to owning a mountain bike. Cycling Weekly magazine clearly state fifteen of the best reasons to ride a bike.
Health and mental well-being, weight loss and muscle building are just a few of the medical benefits. If you do decide to embark on this exciting journey of craftsmanship and rise to the challenge here are a few things to keep in mind.
I Recommend: Venzo Raptor Mountain Bike Hard Tail Frame

Parts That You Will Need For A Standard Mountain Bike Are:
Tools That You Will Need To Build Your Mountain Bike Are:

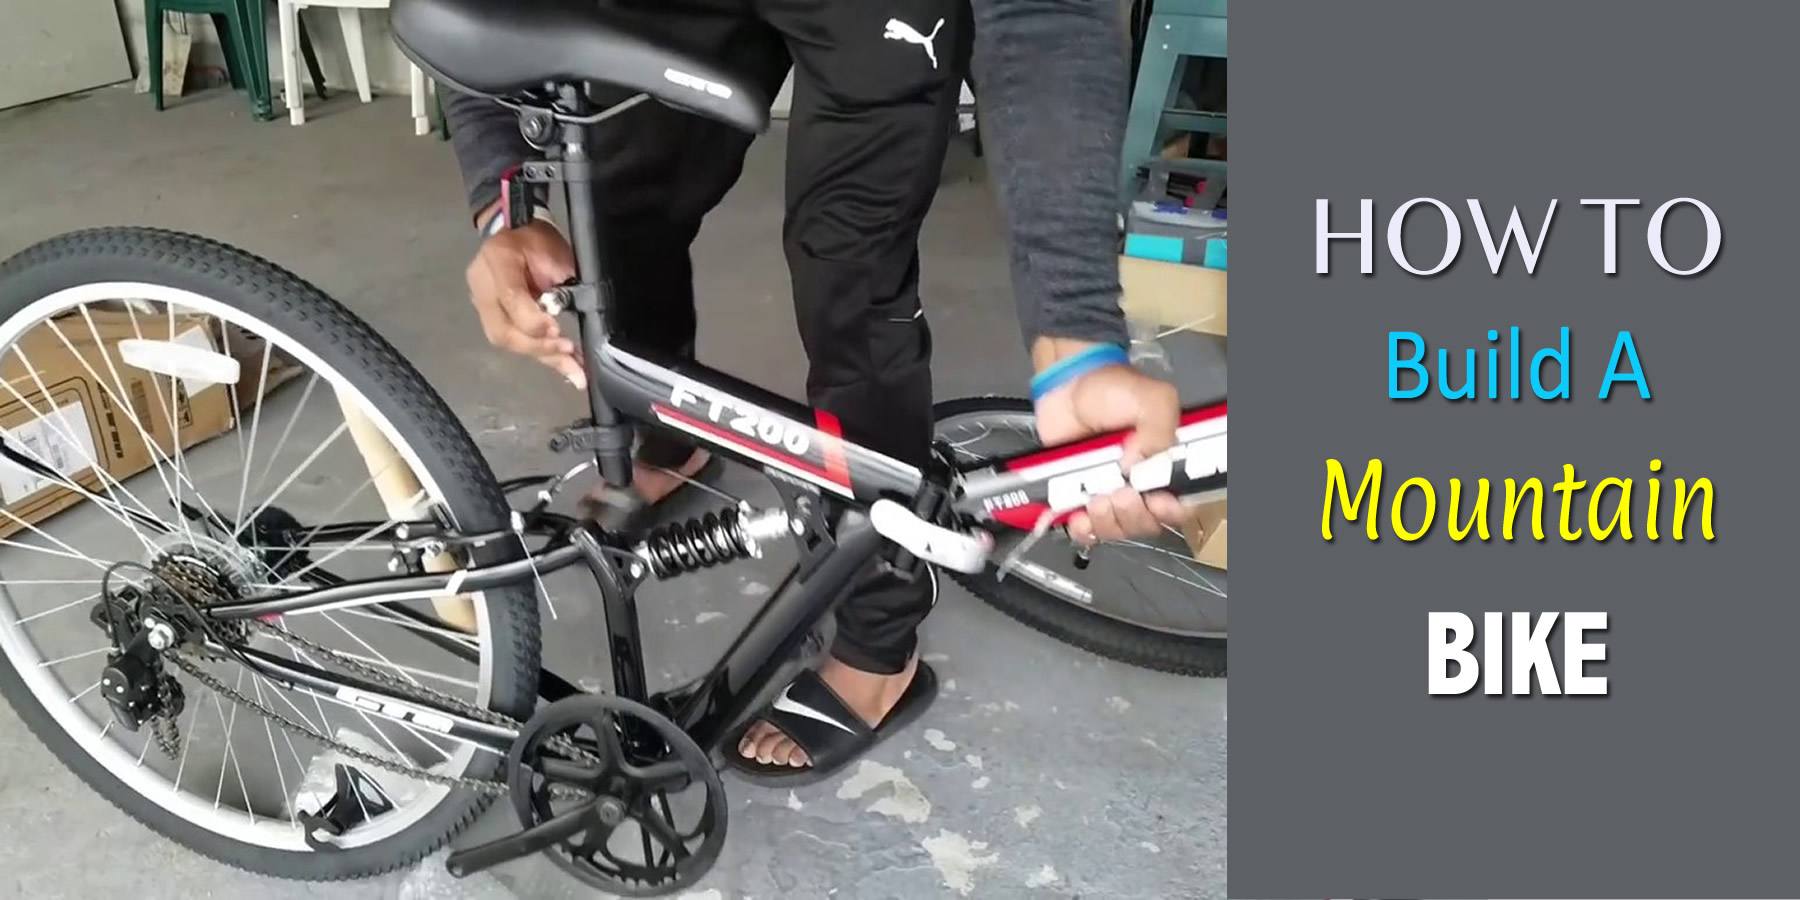
Build A Mountain Bike - Detailed Steps
Step One:
The first thing to do will be to decide what size frame you will need. Base this on your own riding style and personal day to day needs. Evans Cycles is a good place to start your research. They offer a comprehensive mountain bike size chart according to height.
Step Two:
You will need to install your headset. A headset is an important part of your bike. It is a bearing that will ensure that your bike's steerer can rotate inside the frame. The headset is key to ensuring that when you turn your handlebars, you will move smoothly in the right direction.
Every twist and turn that you make with your arms will transmit into your headset. Chain Reaction Cycles is a recommended place to start your research into headsets, and the type that would be suited to you and your bike.
Step Three:
The front and back wheels now need to be attached to your frame. The front fork is for your front wheel, and will also act as shock absorbers. Set the crown race from the headset into the front fork steerer tube, on the fork crown. If the fork steerer is not to your desired length cut it to what is best for your needs and bike. Use the starnut from the bearing to join the parts.
Step Four:
When selecting your mountain bike wheels do keep in mind that they come in varied sizes. For a mountain bike, they ideally should be thick and tough, so that they are able to handle uneven surfaces without a problem or put you in danger. Wheels are ready made with all the parts you need rims, spokes, and hubs.
Attach the tires and the disc brake rotors to the fork's rear dropout. Then attach it to the frame's rear dropout. Lock the fork onto the headtube using the cap bolt. Repeat these steps to attach the back wheel also. Finish securing the wheels by adding the cassette.
Step Five:
The cockpit will now need to be installed, this entails the controllers, which includes shifters, brakes, and both grips. Simply attach the handlebar to the stem then add the grips.
Step Six:
The crank-set will need to be attached, and the front derailleur on the frames of the seat tube. Now attach rear derailleur on the hanger at the rear dropout. Pull the chain around the chainring, through the front derailleur and the cassette into the rear derailleur jockey wheels. On the front fork and the rear seat post, the brake calipers should be installed. It is key that the caliper mounting bracket and the rotor match.
Step Seven:
The derailleur hose and cables will need to be cut to the right length for your front and back derailleur. You can start with either the front or the back.
Step Eight:
Finally, install your saddle and pedals, then tune the derailleurs and the disc brake calipers, to ensure that the pads are not rubbing the rotors. Add a little grease on your seat post to the insert line, slide in your seat, tighten or close the seat clamp. Grease your pedals also slide them in as far as you can and tighten with the Allen key. Well done! You have just built your mountain bike.
Things To Note:
Relevant Resources:

Hello Guys! I am John Reese, a professional biker and my hobby is biking! I have been biking for last 12 years and I love using bikes while outing as well. Based on my experiences with the different type of bikes (mountain bikes, road bikes and hybrid bikes); I am sharing my opinion about various bikes so that a beginner can get started right away. Happy reading!